Managing PED servers in store
Screen Entry Point:
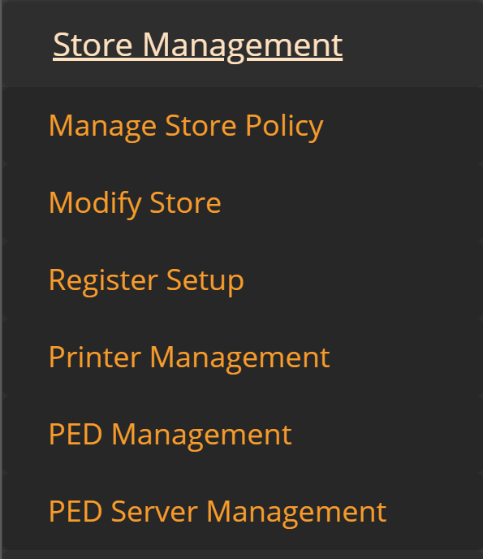
Navigation Menu > Administration > Store Management > PED Server Management

Description
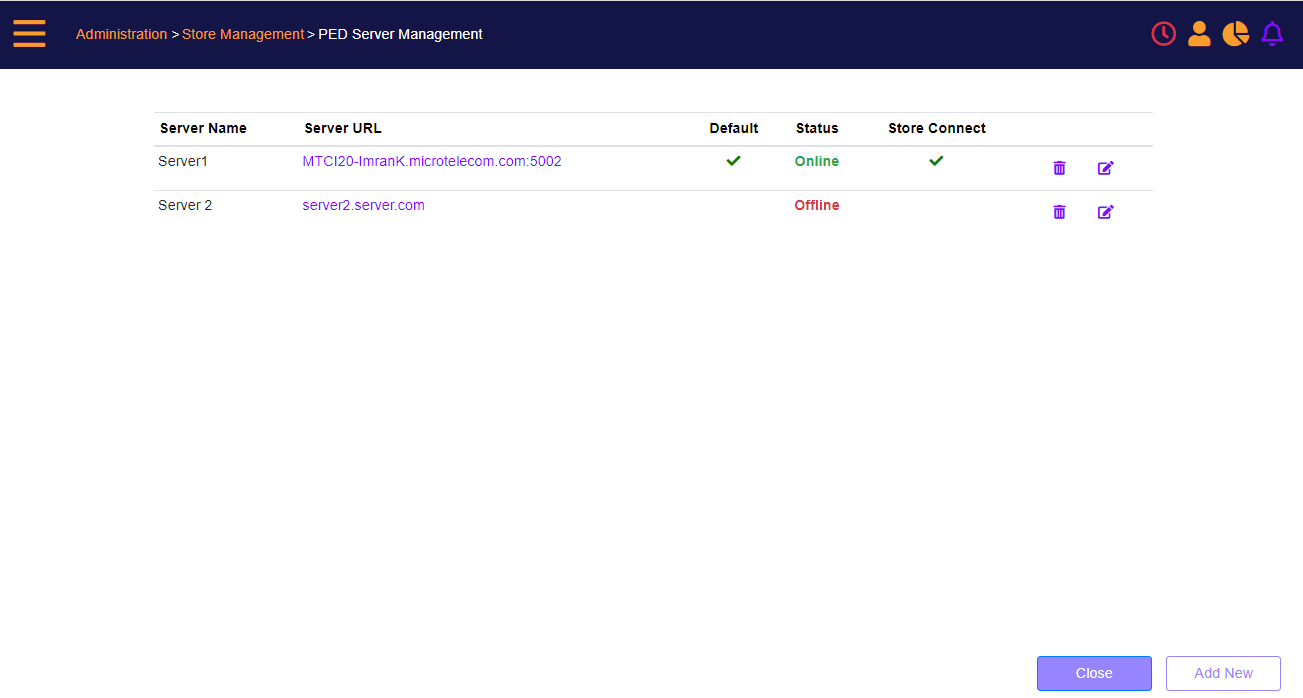
The administrator can add, remove, or modify the available payment processing servers in the store.
PED Server Management screen

Clicking the Close button redirects to the Administration > Store Management screen.
Click the Add button to add a new PED server in the store.
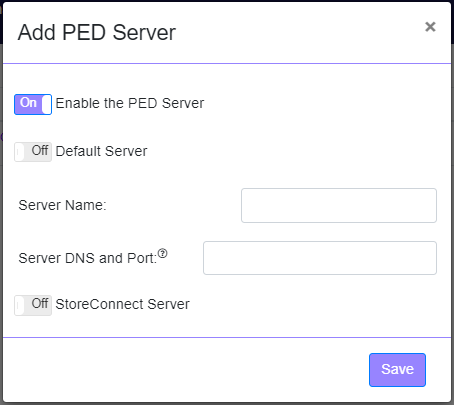
Add a new PED server

On the screen, specify:
- If it is the default - only one can (and must) be set as default per store
- Server Name – display value to show on user selection
- Server DNS and Port – Server DNS (Server FQDN)
- If the PED is not currently available, but will be later, you can select to 'Off' the PED using the Enable PED toggle. (Default 'On').
Click the Save button to add the PED server to the list of PED servers available in the store.
Click the Edit icon next to the PED server that is required to be changed.
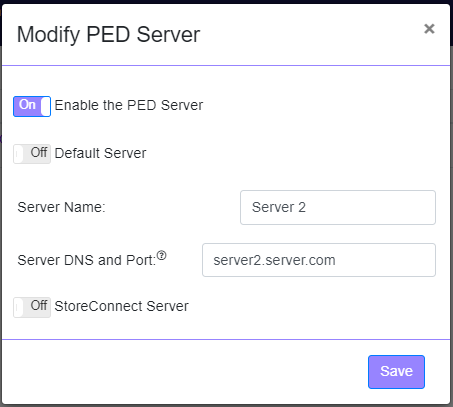
Modify an existing PED server

The screen presents the current values.
User can change the PED server name, PED DNS and Port and if it is the default PED server.
If the PED is not currently available, but will be later, the user can select to 'Off' the PED using the Enable PED toggle.
Click the Save button to update the PED server.
Remove an existing PED server
Click the Delete icon next to the PED server that is to be removed. All PED’s configuration on the selected PED server will be removed as well.
![]() Note: PED configurations on other PED servers will not be changed.
Note: PED configurations on other PED servers will not be changed.